The outline lives in Virtual Desktop's video pipeline, so that's where most of the win is — a one-time setup. Then PassthroughForge's per-mask Border toggle mops up anything the pipeline can't. You do the VD part once and forget it.
Why the outline happens
The edge of every mask is the exact line where Virtual Desktop swaps the key colour (the deep blue PassthroughForge paints) for your real passthrough cameras. That's a hard colour transition — and Virtual Desktop streams the whole VR image to your headset as compressed video.
When the codec/bitrate can't carry that hard blue-to-image transition cleanly, the key colour bleeds a few pixels outward and you see it as a soft pink/blue fringe. So the outline is a compression + keying artefact, not something in the mask itself — which is exactly why the fix lives mostly upstream, in Virtual Desktop.
The decisive part: your Virtual Desktop settings
This is where most of the improvement is won. In our testing these four settings make the biggest difference between an obvious glowing line and a faint one you barely notice:
| Setting | Set it to | Why it matters |
|---|---|---|
| VD Codec | HEVC (ideally HEVC 10-bit) | The single biggest factor. 10-bit carries colour far more precisely than H.264 / 8-bit, so the deep-blue key barely bleeds into the edge. H.264 is the usual cause of a strong pink line. |
| VD Bitrate | as high as your link holds | Low bitrate = heavy compression = more fringe. Push it up and stay on a strong 5 GHz / 6 GHz signal near the router. If your Wi-Fi is the bottleneck, this is often the real culprit. |
| VD Runtime | VDXR | VDXR is the most direct path. SteamVR adds an extra compositor pass that softens the edge and widens the fringe. |
| VD chroma smoothness | low | High smoothness feathers the key edge into a wide halo; a low value keeps the cut tight. |
Mask resolution — the other big lever
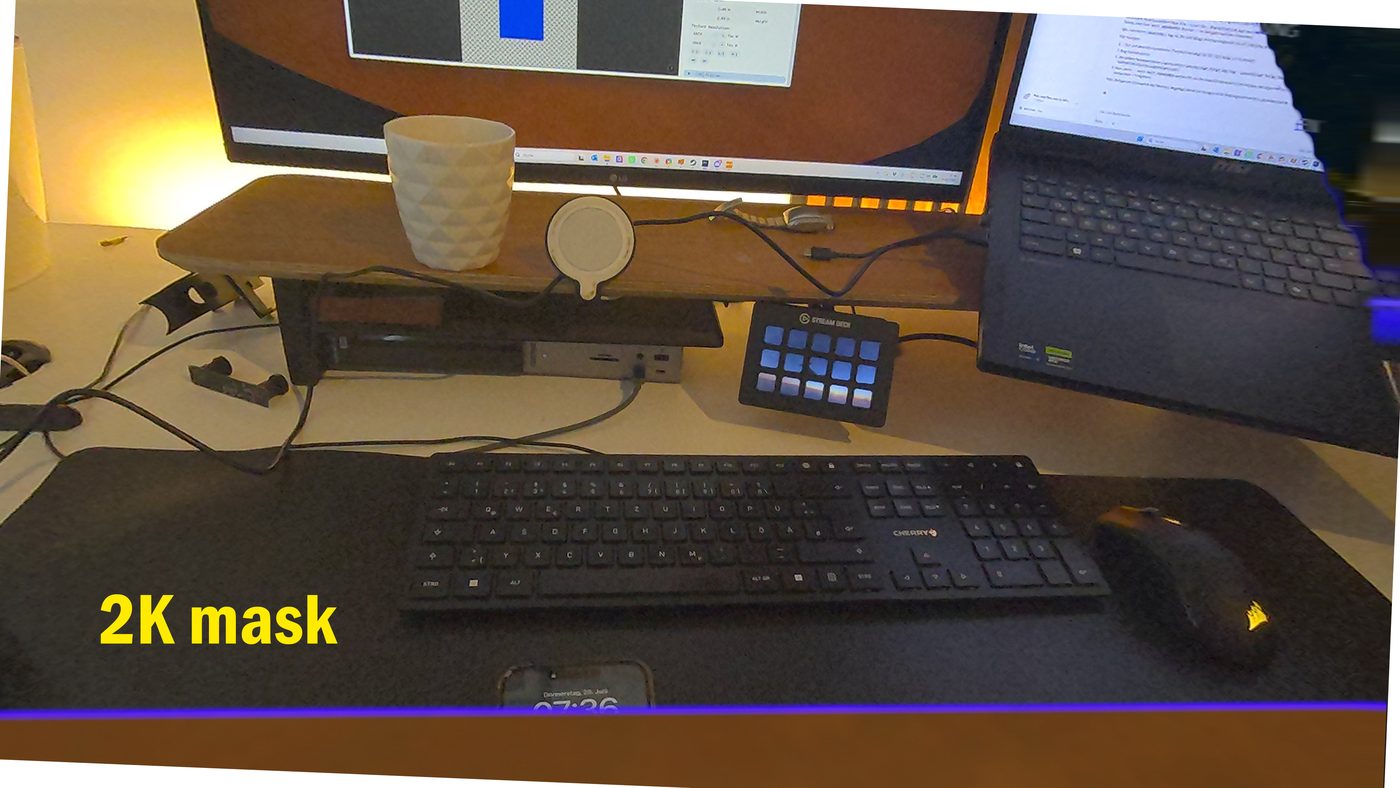
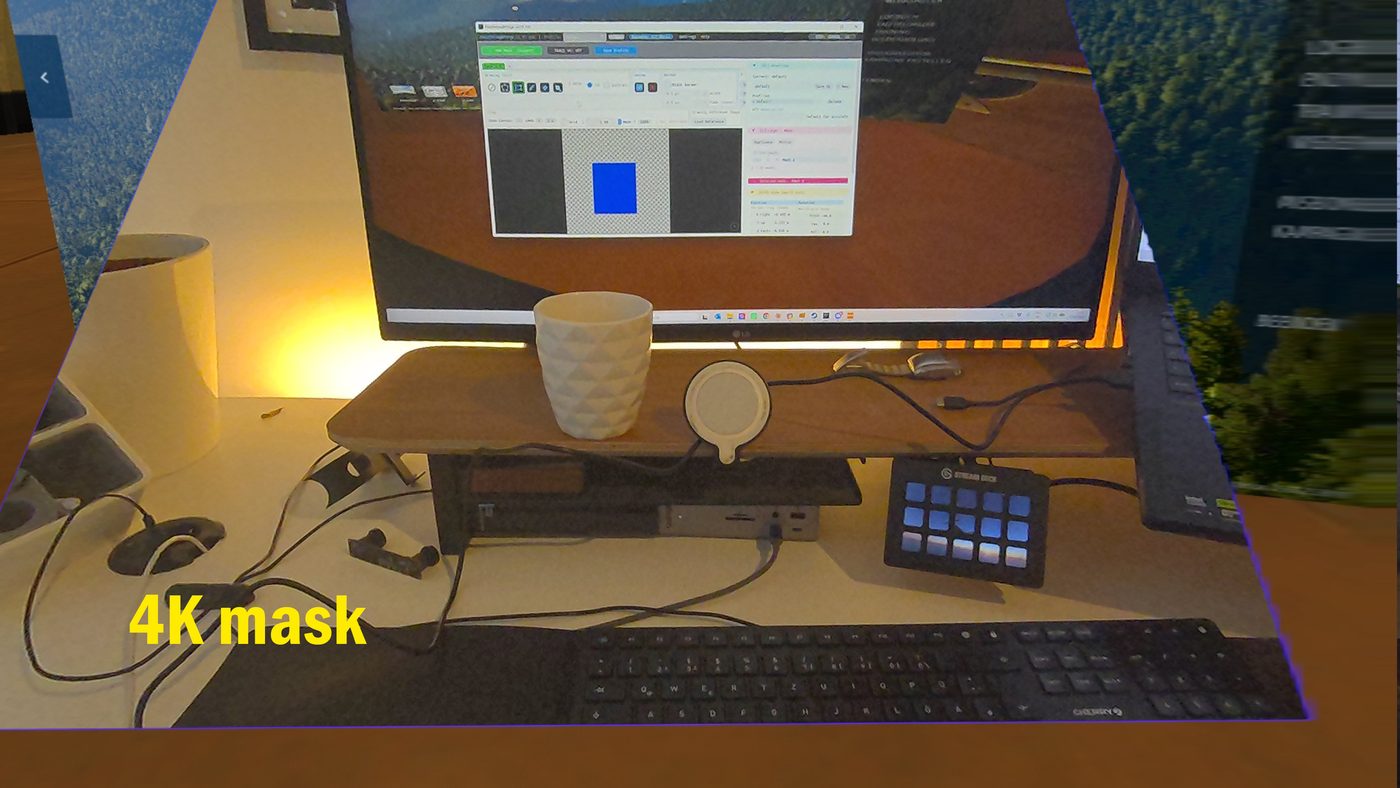
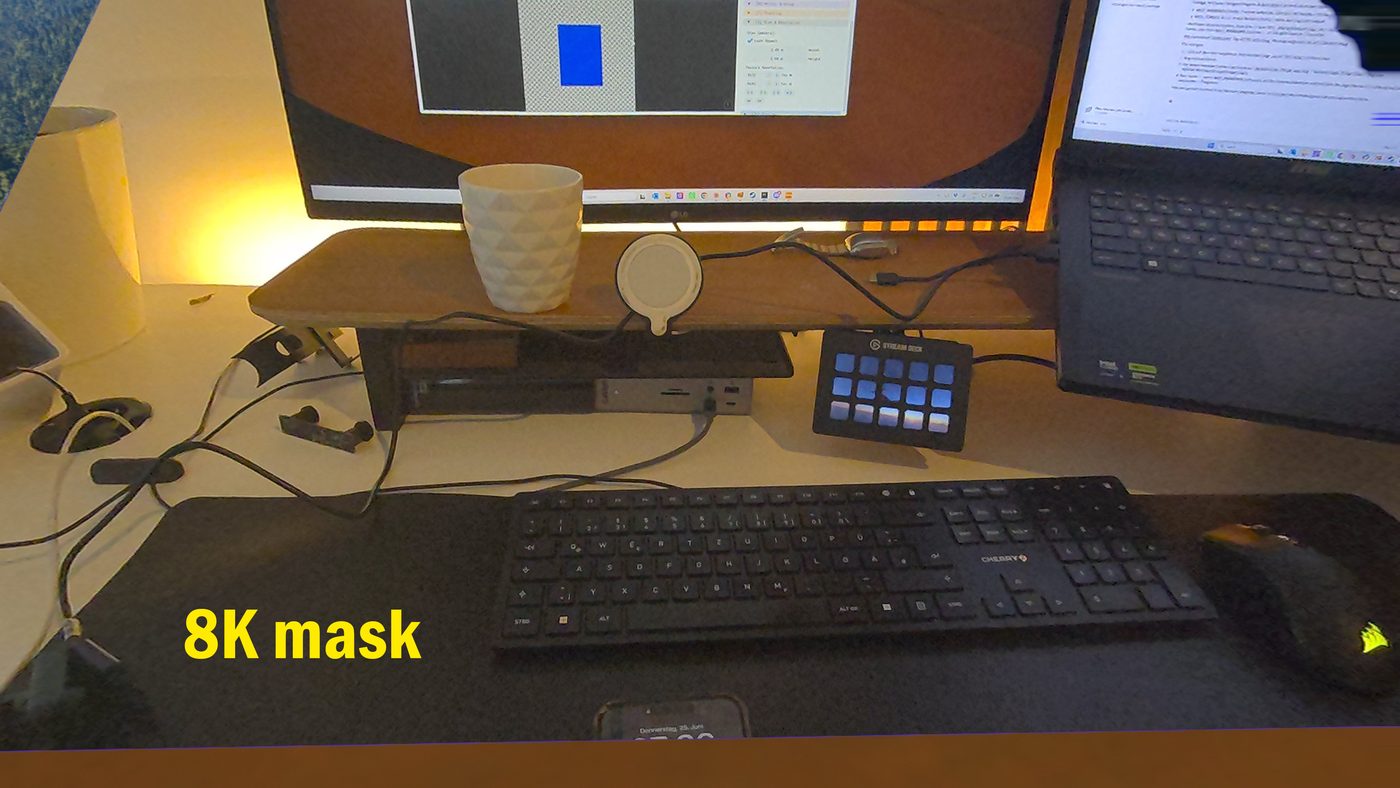
After the Virtual Desktop pipeline, the biggest thing you control is the mask's own resolution. It decides how many pixels the cutout edge is drawn with — and that has a real, visible effect on how thin and clean the outline looks. A low-resolution mask renders the edge with few pixels, so the cut (and the chroma fringe sitting on it) comes out coarse and stair-stepped. A higher-resolution mask draws the exact same edge with far more pixels, so it's much finer and the fringe has less room to spread.
Move the mask closer, don't zoom it
When a mask looks too small in your view, the instinct is to scale it up (zoom). Resist it — and here's why. A mask is an image with a fixed number of pixels (its resolution, from the step above). Zooming stretches that fixed image over a bigger area, so every pixel — including the thin coloured fringe right on the edge — gets blown up with it. The edge goes soft and the fringe line becomes fatter and more obvious. You're magnifying a low-detail edge.
Instead, move the mask toward you — closer to your head and the passthrough cameras. It fills more of your view because it's nearer, not because it's been stretched: the mask keeps its native size, so its pixels stay dense and the edge stays crisp. In one line: zooming spreads the mask's pixels thin; moving keeps them dense.
Match the passthrough colour on both sides
PassthroughForge paints every mask in one key colour (Settings →
Passthrough Color, default 0, 0, 180 — a deep blue). Virtual Desktop
has to be keying the exact same colour for the swap to happen — and a deep,
saturated blue is also the colour that keys the cleanest, with the least fringe.
- Keep both sides identical: whatever you set in PassthroughForge's Passthrough Color, set the same value in Virtual Desktop's chroma-key.
- Stick with a deep, saturated colour (the default
0, 0, 180is a good one). Washed-out or near-grey keys smear more at the edge. - If you ever change it, change it in both places — a mismatch either kills the passthrough entirely or leaves a heavy coloured rim.
PassthroughForge's own fix: the Black border
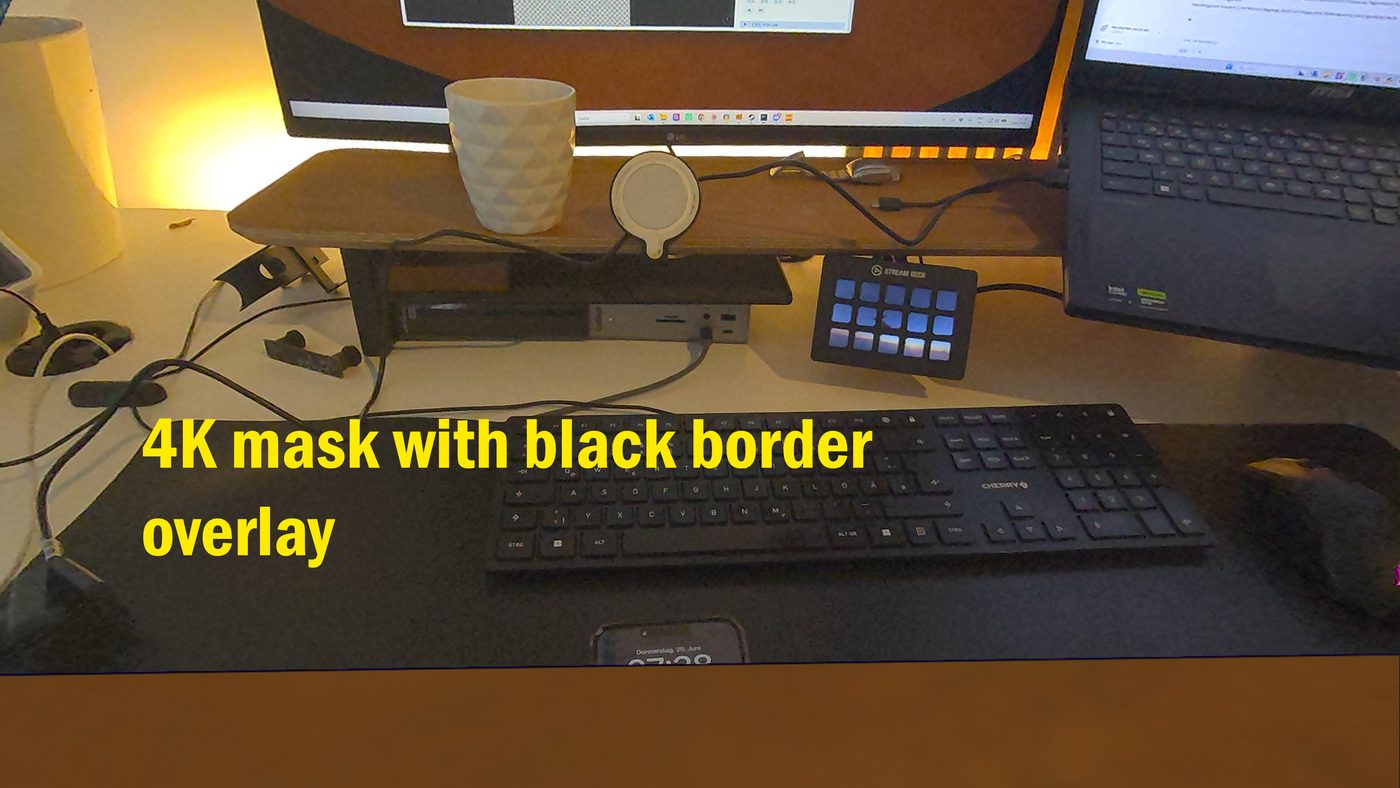
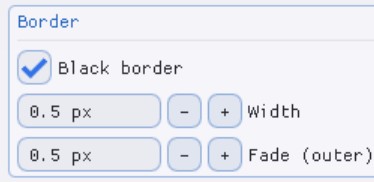
Even with the best pipeline a thin fringe always remains — the outline never fully goes away. PassthroughForge has a dedicated tool to hide it: the Border panel in the mask editor (right-hand side, with a mask selected).
- Tick Black border — it draws a solid black band centred on the cutout edge, overwriting the very edge band. Any remaining chroma fringe now reads as a thin dark outline instead of glowing pink.
- Width (in pixels) sets how thick that black band is — start small (a couple of pixels) and nudge it up in 0.1 px steps until the fringe is gone.
- Fade (outer) softens the band outward into the game image (the entered width
stays fully opaque;
0= a hard edge). A small fade blends the border into the scene.
It's per-mask and purely cosmetic — it never touches the inner (chroma) edge, so it can't re-expose the fringe. And it's saved with your profile, so it comes back next session.
Quick checklist
- VD codec = HEVC 10-bit
- VD bitrate high, on a strong 5/6 GHz signal
- VD runtime = VDXR (not SteamVR)
- VD chroma smoothness = low
- Passthrough colour identical in PassthroughForge and Virtual Desktop (deep, saturated)
- Mask editor → Border → Black border on, thin width + small fade to cover the leftover fringe